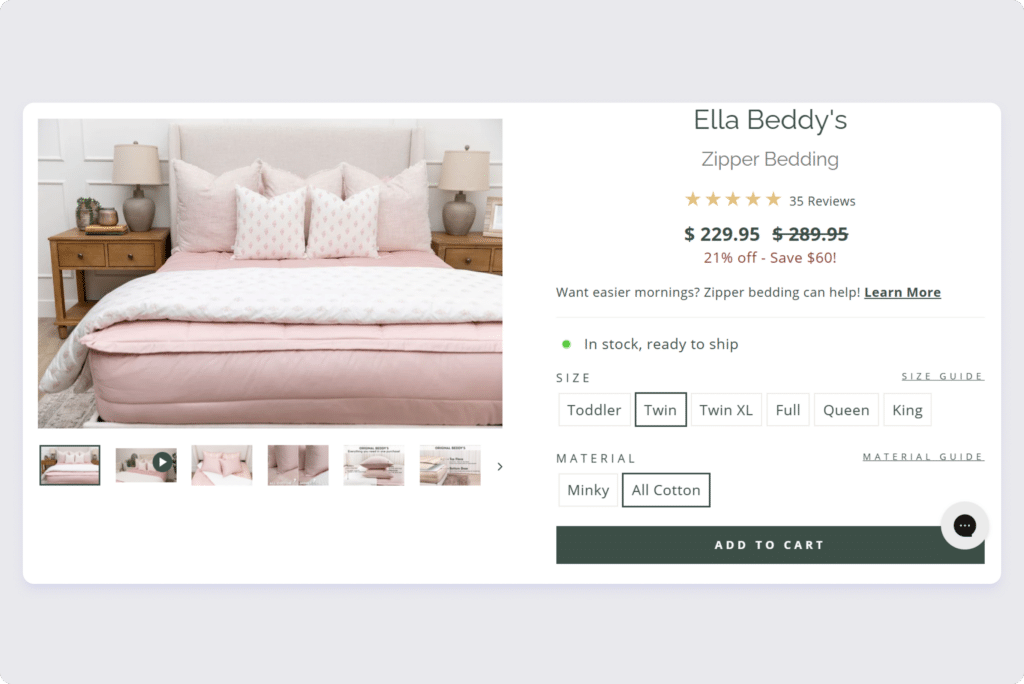
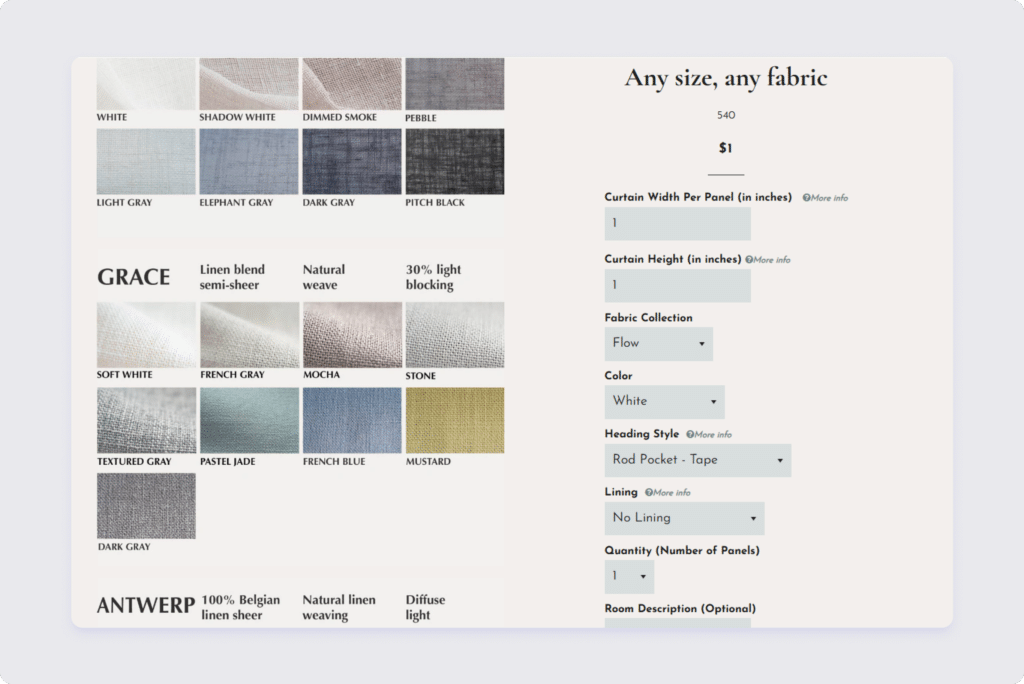
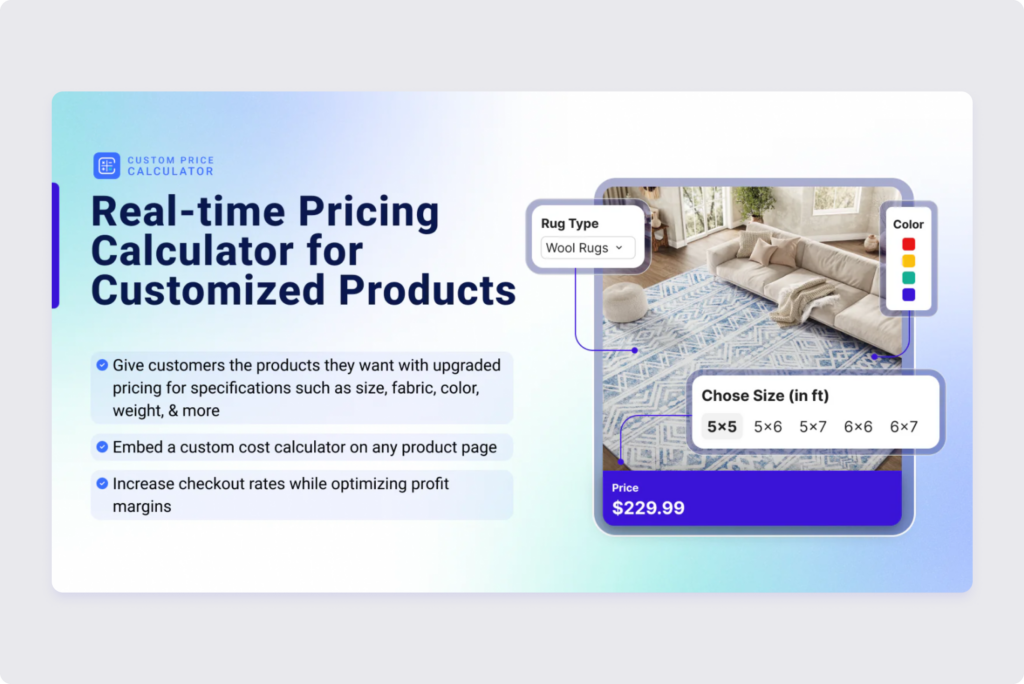
Price calculators on Shopify enable you to create custom pricing that changes based on what your customers choose, making it easier to sell personalized and customized products that require that extra touch. The ability to provide real-time, dynamic pricing for custom products has become a crucial differentiator for Shopify merchants.
Whether you’re selling made-to-order furniture, custom fabric by the yard, or personalized printing services, your customers want instant pricing that reflects their specific requirements.
Traditional Shopify static pricing doesn’t work well for custom products. When customers pick different options, showing the right price gets tricky. Creating hundreds of product variants gets messy, and manually sending price quotes takes too much time and can make you lose sales. Custom Price Calculator solves this with its drag-and-drop formula builder – you can set up pricing that updates instantly as customers select variant options, without any coding needed.
Let’s explore how implementing a custom calculator on your ecommerce store can transform your pricing strategy, and boost customer confidence. You’ll learn how to create dynamic pricing experiences that not only meet customer expectations but also optimize your profit margins.

Customers trust your store more because they see real prices right away – no surprises at checkout. Recent data shows that 71% of shoppers expect this kind of personalized experience when they buy online.
Your conversion rates go up because customers don’t have to wait for price quotes. They can make decisions on the spot when they see a price that works for them. This means fewer abandoned carts and more completed sales.
You’ll spend way less time answering the same pricing questions over and over. Your calculator handles all the basic price quotes automatically. This finally gives you all the extra time to answer more important customer questions instead.
How a custom calculator works on Shopify
Just like a restaurant menu where prices change based on portion size or add-ons, your calculator adjusts prices as customers make their selections.
Different types of eCommerce stores use price calculators in unique ways:
- Custom furniture makers can price pieces based on size, materials, and finishes. A dining table’s price might change with its length, wood type, and stain color.
- Printing services calculate costs based on paper type, size, quantity, and delivery speed. A business card order price updates instantly when someone switches from standard to premium paper.
- Fabric and material sellers can price by exact measurements. Whether someone needs 2.5 yards or 10 meters of fabric, they get the exact price without manual calculations.

What your calculator can consider
Modern calculators handle many variables that affect your pricing:
-Measurements: Length, width, height, or custom dimensions that determine material costs.
-Quantity breaks: Prices that adjust based on order volume, like discounts for larger quantities.
-Material choices: Different pricing for premium vs standard materials, or varying costs based on current material prices.
-Design complexity: Additional costs for special finishes, custom features, or complex manufacturing requirements.
And at the end, you don’t need to be a math whiz. The calculator handles all these calculations automatically, showing customers their total price as they make each choice.
Setting up a custom price calculator on Shopify
Getting started with a custom price calculator is straightforward. Here’s how to set up yours in four simple steps:
Step 1: install the calculator app
Head to the Shopify App Store and install the Custom Price Calculator app. It comes with a 10-day free trial, so you can test everything before committing. Once installed, you’ll find it in your Shopify admin panel.

Step 2: Create your pricing logic
This is where you tell the calculator how to price your products. Using the drag-and-drop formula builder, you can set up:
- Basic calculations like price per square foot
- Volume discounts that kick in at certain quantities
- Special pricing for premium materials or add-ons
- Shipping cost calculations based on size or weight
No coding needed – just pick the elements you want and arrange them how you need.
Step 3: Match your store's look
Make your calculator look like it belongs on your store:
- Choose colors that match your brand
- Pick fonts that complement your theme
- Adjust the layout to fit your product pages
- Add your own text and labels to guide customers
The calculator should feel like a natural part of your store, not a bolted-on tool, so pay special attention to this third step.
Step 4: Test and fine-tune
Before going live:
- Try different product combinations to verify pricing
- Check how it looks on mobile devices
- Test the calculator with real product scenarios
- Ask a few customers to try it and give feedback
Pro Tip: Remember to regularly check your calculator’s performance and adjust based on customer feedback.
Best practices for maximizing Your calculator's impact
Keep your calculator simple right from the start. Focus on presenting options in a clear, logical order that guides customers through their choices. Instead of overwhelming customers with every possible option at once, start with the most important decisions first. Use everyday language in your labels – for example, “Print Size” is much clearer than “Dimensions A.” When certain options need more explanation, add brief helpful tooltips that appear when customers hover over them.
Show prices changing in real-time as customers make their choices. It’s a great way to build trust. Let them know instantly when they qualify for discounts or free shipping. Always display shipping costs early in the process.

Add product previews that update with each choice your customers make. It helps them see exactly what they’re buying. Use simple icons to make options easier to spot. If you have popular product combinations – highlight them – it helps new buyers make decisions faster.
Put your calculator where customers can easily find it – right above the ‘Add to Cart’ button works best. Make the next steps clear, and let customers save their quotes if they need approval before buying.
Try different layouts to see what gets you more sales. Watch how customers use your calculator and make it better over time. “Listen” to customer feedback – it’s the best way to know what’s working and what isn’t.
Success with your calculator comes down to making things easy for your customers. When they can quickly get exactly what they want, they're more likely to buy.
Time to take action
So, there you have it! A custom calculator isn’t just a fancy tool, it’s a game-changer. It lets you handle tricky pricing like a pro, offer tons of product choices, and keep your inventory in check.
By letting customers build exactly what they want, you’re creating a smooth, happy shopping experience that leads to more sales. And with instant price updates, no one gets hit with surprise costs at checkout.
Check out all the features of the Custom Price Calculator app and give your Shopify store a major boost.
